
 Linux基础环境配置
2年前
一、IP地址配置
[root@localhost ~]# ip a #查看当前虚拟机IP
[root@localhost ~]# cd /etc/sysconfig/network-scripts/ #cd到网卡配置文件目录下
[root@localhost network-scripts]# vi ifcfg-ens33 #使用vi命令修改网卡配置
TYPE="Ethernet"
PROXY_METHOD="none"
BROWSER_ONLY="no"
BOOTPROTO="dhcp" #将dhcp修改为static
DEFROUTE="yes"
IPV4_FAILURE_FATAL="no"
IPV6INIT="yes"
IPV6_AUTOCONF="yes"
IPV6_DEFROUTE="yes"
IPV6_FAILURE_FATAL="no"
IPV6_ADDR_GEN_MODE="stable-privacy"
NAME="ens33"
UUID="f4bcef7e-636c-4f02-865f-c88a5d470ea6"
DEVICE="ens33"
ONBOOT="yes" #若为NO需要修改为yes
#添加以下三条
IPADDR=172.129.7.10 #需要在VM软件虚拟网络编辑器中设置的IP段内
PREFIX=24 #子网掩码
GATEWAY=172.129.7.2 #需要在VM软件虚拟网络编辑器中设置的网关相同[root@localhost network-scripts]# service network restart #重启网卡二、修改主机名以及IP地址映射
1.修改主机名
[root@localhost ~]# hostnamectl set-hostname centos01 #修改主机名命令是hostnamectl set-hostname 新主机名2.IP地址映射
[root@centos01 ~]# vi /etc/hosts三、防火墙、selinux永久关闭
1.关闭防火墙
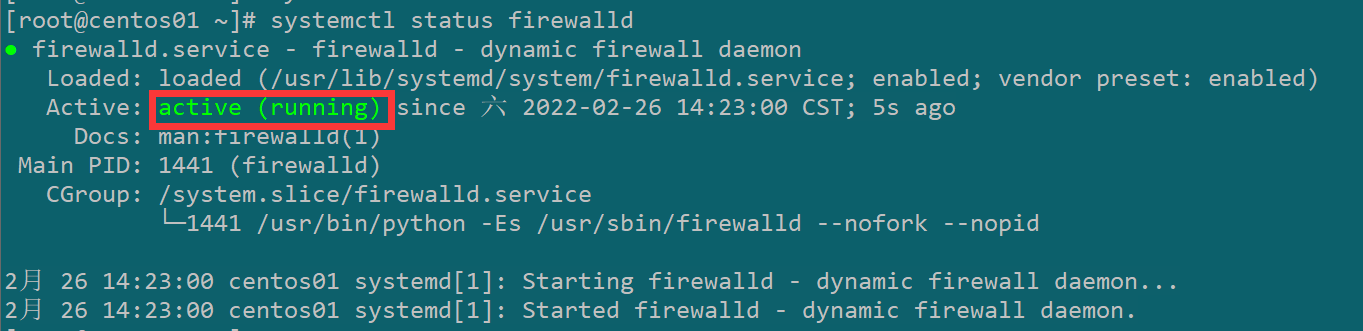
[root@centos01 ~]# systemctl status firewalld[root@centos01 ~]# systemctl stop firewalld #停止防火墙运行,仅能临时关闭虚拟机重启后会重新打开
[root@centos01 ~]# systemctl disable firewalld #永久关闭防火墙2.关闭selinux
[root@centos01 ~]# getenforce #查看selinux当前状态
[root@centos01 ~]# vi /etc/selinux/config #修改selinux配置文件
image-20220226143028225
# 修改上方红框enforcing为disabled
# This file controls the state of SELinux on the system.
# SELINUX= can take one of these three values:
#     enforcing - SELinux security policy is enforced.
#     permissive - SELinux prints warnings instead of enforcing.
#     disabled - No SELinux policy is loaded.
SELINUX=enforcing #将enforcing修改为disabled
# SELINUXTYPE= can take one of three two values:
#     targeted - Targeted processes are protected,
#     minimum - Modification of targeted policy. Only selected processes are protected.
#     mls - Multi Level Security protection.
SELINUXTYPE=targeted
# 重启虚拟机
[root@centos01 ~]# getenforce  image-20220226143517828
四、JDK上传与安装
输入rpm -qa|grep java命令查看系统中预装的jdk,查询到后输入rpm -e --nodeps文件名删除包,再次输入rpm -qa|grep java查看发现已经删除[root@centos01 ~]# mkdir soft #在根目录创建soft目录
#键盘Alt+P,打开sftp image-20220226144118556
sftp> put E:\文档\学习\hadoop\jdk-8u162-linux-x64.tar.gz #使用put 文件路径+文件名 命令将文件上传,文件上传后在根目录[root@centos01 ~]# tar -zxvf jdk-8u162-linux-x64.tar.gz -C soft/ #使用tar命令将jdk解压并安装在soft目录下
[root@centos01 ~]# mv soft/jdk1.8.0_162/ soft/jdk #用mv命令修改文件名方便以后访问
[root@centos01 ~]# cd soft/jdk/ #cd进jdk目录
[root@centos01 jdk]# pwd #使用pwd查看jdk路径,然后记下
[root@centos01 ~]# vi /etc/profile #编辑环境变量#进入文本后在最下面加入以下两行
export JAVA_HOME=/root/soft/jdk/jdk
export PATH=:$JAVA_HOME/bin:$PATH
[root@centos01 ~]# source /etc/profile #立即执行配置文件生效
[root@centos01 ~]# java -version #查看jdk是否安装成功,如果显示如下图则安装成功 image-20220226145953424